OPNsense

The first time you log in to a fresh OPNsense web interface, a setup wizard walks you through the handful of settings every firewall needs: a hostname, a WAN connection matched to your internet provider, a LAN address, a new administrator password, and sensible time and DNS settings. The wizard is short, but several of its fields depend on your ISP, and guessing them is the main reason first setups fail. This guide goes through the wizard field by field, explains what each choice actually controls, and finishes with the checks that prove the result works.
Before you start: gather your ISP details
Five minutes of preparation saves a restart later. Before opening the wizard, have these answers ready:
- Your connection type. Most cable and fibre connections hand out an address by DHCP. Many DSL and some fibre services use PPPoE, which needs a username and password from your provider. Business connections sometimes use a fixed (static) address, in which case your provider will have given you an IP address, a subnet mask or prefix, and a gateway address in writing.
- Your PPPoE credentials, if applicable. These are often different from your customer portal password. They may be printed on your contract or available from your provider's support pages.
- Whether another router sits in front. If OPNsense is plugged into an existing router rather than directly into a modem or fibre terminal, your WAN will receive a private address and your LAN must not use the same subnet as that router's network.
- The LAN range you want. The default, 192.168.1.1/24, is fine unless it clashes with the network in front of the firewall or with a VPN you plan to use.
Step 1: General setup (hostname and domain)
The first screen asks for the identity of the firewall itself.
Hostname is the name of this machine, for example firewall or opnsense. It appears in the console banner, in log files, and in the browser title. Keep it short, lowercase, and free of spaces: letters, numbers, and hyphens are safe.
Domain is the local domain suffix for your network, for example home or lan, so that devices can be addressed as printer.home. Two rules of thumb apply. Use a name reserved for private use or a real domain you own, and do not copy a public domain that belongs to someone else, because your local devices would then resolve that public name to the wrong place. A simple invented suffix such as lan works well for a home network.
These two fields are cosmetic in the sense that nothing about your internet connection depends on them, but they appear everywhere in logs and address assignments, so choosing them deliberately now is easier than renaming later.
Step 2: Time zone and DNS servers
The wizard next deals with time and name resolution, two things that quietly affect everything else.
Time zone. Pick the zone where the firewall physically sits. Log timestamps, scheduled rules, and update schedules all follow this setting. A firewall in the wrong time zone produces logs that are maddening to correlate with real events, so set it correctly even if everything else is left at defaults. The wizard also offers time servers (NTP) for keeping the clock synchronised; the defaults are fine for most networks, and a correct clock matters because certificates and VPNs misbehave when time drifts.
DNS servers. Here you can enter primary and secondary DNS servers for the firewall itself to use. Whether you should fill these in depends on your situation:
- If your WAN connection is DHCP or PPPoE, your provider normally supplies DNS servers automatically. Leaving the wizard fields empty and allowing the provider's servers is the simplest working choice.
- If you prefer known public resolvers or run your own, enter them here. The firewall and, through it, your LAN clients will use them.
- There is an option controlling whether the provider may override the DNS servers you entered. If you typed servers deliberately, you will usually want them to stay; if you left the fields empty, the provider's servers are used anyway.
Whichever you choose, write down what you set. "The internet is down" reports very often turn out to be "DNS is down", and knowing whether your resolver addresses came from the provider or from this screen is the first diagnostic step. Note that these settings govern the firewall's own resolver behaviour; the addresses handed to LAN clients by DHCP follow the same configuration unless you customise the DHCP service later.
Step 3: WAN configuration (the ISP-dependent step)
This is the step where the right answer depends entirely on your provider. The wizard offers several WAN types; the three below cover the overwhelming majority of connections.
DHCP (most cable and fibre connections)
If your provider gives you a modem or fibre terminal and your old router simply worked when plugged in, your connection is almost certainly DHCP. Select DHCP and there is little else to enter: the firewall requests an address and receives the IP address, gateway, and usually DNS servers automatically. OPNsense uses DHCP on WAN by default, so a fresh install may already have an address before you even open the wizard.
PPPoE (many DSL and some fibre services)
PPPoE connections need the username and password your provider issued for the connection itself. Enter them exactly as given; these credentials are the single most common point of failure, and a wrong password produces a connection that retries silently rather than an obvious error. Leave the remaining PPPoE fields at their defaults unless your provider has given you specific values in writing.
Static (fixed address connections)
Static configuration is only correct when your provider has assigned you fixed values. Enter the IP address, the subnet information, and the upstream gateway exactly as supplied. A single transposed digit here leaves the connection dead with no error message, so copy the values rather than retyping them from memory.
Two WAN behaviours deserve a mention because they surprise people. First, some providers register the MAC address of the first device connected; if a connection that worked with your old router refuses to come up, note the old router's MAC address, because the WAN settings can present that address instead (this is called MAC spoofing or cloning). Second, if your OPNsense WAN is plugged into another router and receives a private address, be aware that firewall options which block private and bogus addresses on WAN can interfere with reaching that upstream network; those options live on the interface settings and can be revisited after the wizard if you run a double-router setup.
Quick reference: matching the wizard to your provider
| Your situation | WAN type to choose | What you must have ready |
|---|---|---|
| Cable modem or fibre terminal, old router just worked | DHCP | Nothing; the address arrives automatically |
| DSL line, or fibre with a login issued by the provider | PPPoE | The connection username and password from your contract |
| Business line with a fixed address in writing | Static | IP address, subnet or prefix, and gateway exactly as supplied |
| OPNsense behind an existing router you are keeping | DHCP (usually) | A LAN subnet that differs from the existing router's network |
| Provider supplied their own router that cannot be removed | DHCP (usually) | The same as above, plus patience with double NAT limitations |
Step 4: LAN configuration
The LAN screen asks for the firewall's internal address and subnet mask. The default is 192.168.1.1 with a /24 mask, which gives your network addresses from 192.168.1.1 to 192.168.1.254 and is the right choice for most homes and small offices.
Change it only for a reason, the common ones being:
- The network in front of your firewall (for example an ISP router you cannot remove) already uses 192.168.1.0/24. Two identical subnets on WAN and LAN break routing, so one side must move.
- You plan site-to-site VPNs to networks that use 192.168.1.0/24, which would clash with yours.
- You are rebuilding an existing network that already has a different established range.
If you do change the address here, remember that the web interface moves with it: after the wizard applies its settings, your browser is pointing at the old address and the session ends. Reconnect to the new address (for example https://192.168.2.1/) and log in again. Changing the LAN address outside the wizard, including the DHCP range that must move with it, is covered step by step in our guide to changing the OPNsense LAN IP address.
Step 5: The administrator password
The wizard asks you to set the password for the root account, replacing the factory default opnsense. This is the most important field in the whole wizard. The root account controls the firewall completely, from both the web interface and the console, and the default password is published in every manual, including the official one.
Choose a password that is long and unique to this firewall, and store it in a password manager. If you ever forget it, the recovery path is the physical console (menu option 3 resets it), which is one more reason to keep console access itself behind a locked door or a protected management network.
Finishing the wizard
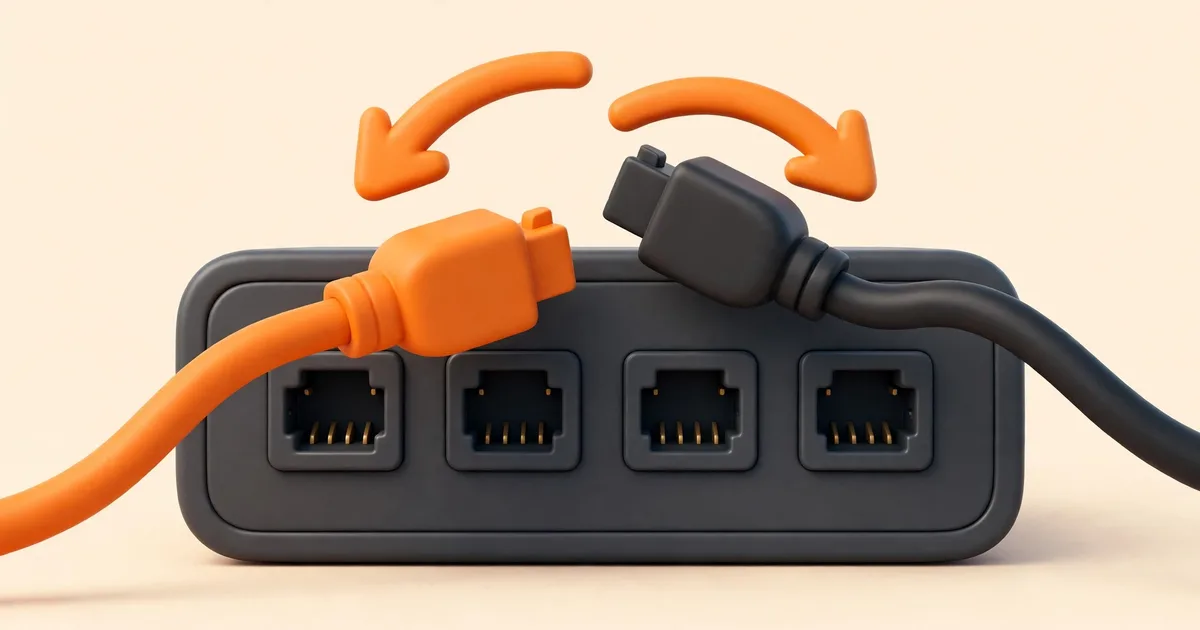
At the end, the wizard applies (reloads) the settings. Expect the web interface to pause or drop briefly while services restart, and expect to log in again with your new password. If you changed the LAN address, use the new address. Nothing in the wizard is permanent: every field corresponds to a normal setting that you can edit later in the web interface, so a wrong choice here is an inconvenience, not a disaster. Settings the wizard does not cover, such as firewall rules beyond the defaults, VPNs, and additional interfaces, are configured afterwards in their own sections. If your ports themselves are in the wrong roles, fix that first with the interface assignment guide, because the wizard assumes LAN and WAN already point at the right sockets.
Common wizard mistakes worth avoiding
- Using your customer portal password for PPPoE. The connection credentials are a separate pair, issued for the line itself. If the connection will not come up and everything else looks right, suspect this first.
- Inventing static values. A static WAN is only correct with numbers your provider assigned to you. Guessing a "free looking" address on the provider's network will not work and can disrupt someone else's connection.
- Picking a public domain as your local domain. If you name your LAN after a real public domain, your devices will try to resolve that domain's real services locally and fail in confusing ways. Use a private suffix or a domain you own.
- Changing the LAN address and then hunting for the firewall. The web interface moves the moment the wizard applies. Note the new address before you click finish, and expect to log in again at the new location.
- Skipping the password step because the network is "only at home". The LAN is exactly where a compromised device would attack the firewall from. Set the password now.
Post-wizard verification checks
Do not declare success because the wizard finished. Run these checks in order; each one isolates a layer, and the first failure tells you where to look:
- Log in to the web interface with root and your new password. If the old default still works, the password step did not apply.
- The dashboard and the interface overview show a WAN address. For DHCP and PPPoE it should be an address assigned by your provider; a missing address means the WAN step needs revisiting.
- A computer on the LAN receives an address in your LAN range by DHCP, with the firewall's LAN address as its gateway.
- From that computer, you can open a website by name (not just by IP address), which proves routing and DNS together.
- The time shown in the web interface matches your local time, confirming the time zone setting.
- The console banner still shows the LAN address you expect, matching the address you now use in the browser.
If the WAN address is missing, revisit Step 3 for your connection type, and confirm the cable is in the port you assigned as WAN during first boot. If LAN clients get no address, check the cable is in the LAN port and see our guide to a web interface you cannot access for the layer-by-layer checks.
What to do next
With the wizard complete and verified, protect the work: take a configuration backup and store the file somewhere other than the firewall. Then check for a firmware update, because install images are only rebuilt for major releases and a fresh install is normally behind the current update level. After that, your firewall is at a clean, known baseline and ready for whatever you add next.