OPNsense
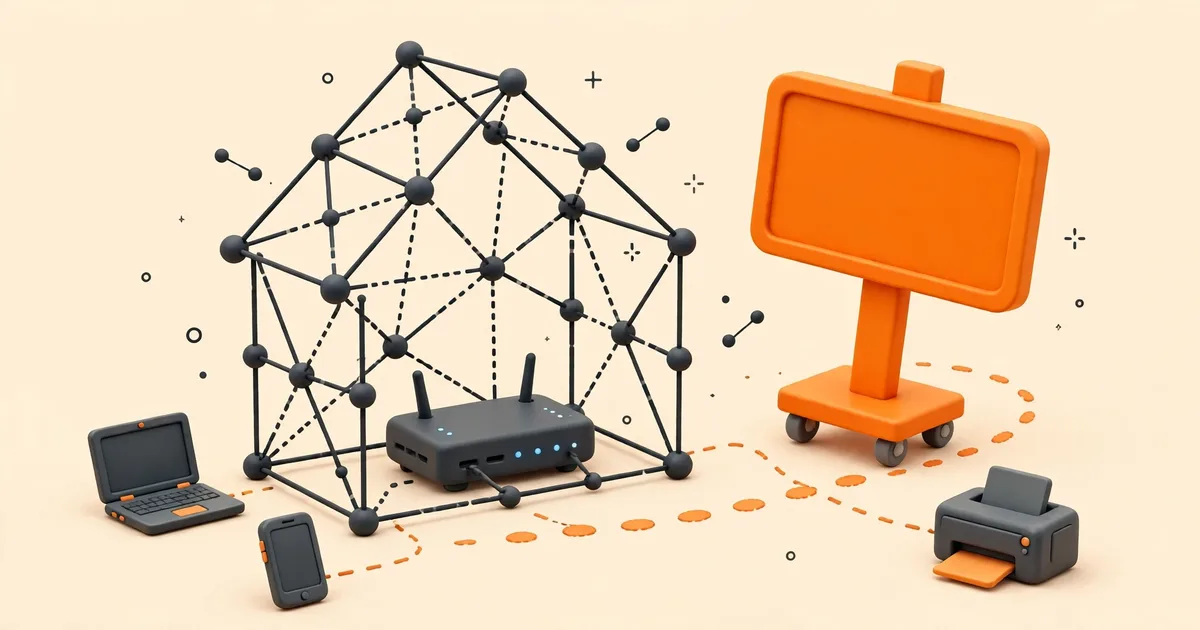
You change the OPNsense LAN IP address in the LAN interface settings of the web interface, and the change itself takes seconds. People lock themselves out not during the edit but around it: their browser session still points at the old address, their computer still holds an address from the old subnet, and the DHCP server keeps offering a range that no longer exists. This guide gives you the safe order of operations, including the DHCP range that must move with the address, a console based escape route if anything goes wrong, and the checks that confirm the new subnet is fully alive.
Why change the LAN address at all?
The default, 192.168.1.1/24, is a perfectly good address, so change it only when you have a reason. The reasons that justify the work are:
- A subnet conflict on the WAN side. If the device in front of OPNsense (an ISP router you cannot remove, a modem with a built-in router) also uses 192.168.1.0/24, the firewall has the same network on both sides and routing breaks. One side must move, and the LAN is the side you control.
- VPN clashes. If you connect to a workplace or to another site whose network is also 192.168.1.0/24, traffic for the remote network and your own LAN becomes indistinguishable. Moving your LAN to a less common range (for example 192.168.20.0/24 or something in the 10.x space) removes a whole class of VPN weirdness.
- Joining an existing scheme. You are replacing another router and want to keep the addressing your devices and documentation already use.
Choosing the new subnet well
All private IPv4 ranges work technically, but some choices age better than others:
- 192.168.0.0/24 and 192.168.1.0/24 are the most common defaults in consumer gear. Avoid them for your LAN if you can; they are the ranges most likely to collide with a network you VPN into or a router placed in front of yours.
- A higher 192.168.x.0/24, such as 192.168.20.0/24 or 192.168.50.0/24, keeps the familiar shape while dodging the common defaults. Pick a third number you will remember and document it.
- 10.x ranges are often used by larger organisations and VPN providers. They are fine at home, but if you connect to a corporate VPN, ask whether the range you fancy is used there.
- Keep the /24 mask unless you genuinely need more than 254 addresses or a segmented design. A /24 is easy to read, easy to document, and large enough for homes and small offices.
One more consideration for people who travel: if your laptop often joins hotel or café networks and you VPN home, those networks also tend to use 192.168.0/1 ranges. A distinctive home range means your VPN keeps working from the road instead of colliding with the coffee shop's subnet.
Plan before you touch anything
Decide the new subnet on paper first. Pick a private range, keep the /24 size unless you have a specific reason to change it, and put the firewall at a memorable address in it, conventionally the .1 address. Then list everything that mentions the old address or the old range, because each one is a small follow-up job:
| Moving part | What to do about it |
|---|---|
| The LAN interface address and mask | The main change, in the LAN interface settings |
| The DHCP server range for LAN | Must be moved into the new subnet, or clients receive unusable leases |
| Devices with static IP addresses | Printers, servers, cameras and the like keep their old addresses until you change them individually |
| Port forwards and rules referring to host addresses | Forwards point at specific device addresses; if a device's address changes, its forward must follow |
| Your own bookmarks and tools | Browser bookmarks, monitoring, and scripts that call the old address need the new one |
| Your admin computer's own address | It must end up in the new subnet before you can manage the firewall again |
Two safety preparations are worth the minutes they take. First, download a configuration backup; if the change goes badly you can restore a known state. Second, make sure you can reach the console (a keyboard and monitor, or a serial connection at 115200 baud for headless hardware). The console is your guaranteed way back in, because console menu option 2 can set an interface address without any network access at all.
The safe order of operations
- Log in and open the LAN interface settings. In the web interface, open the settings page for the LAN interface. You will change the static IPv4 address and its subnet mask (the prefix length, 24 for a /24 network).
- Enter the new address and save, then apply. The moment the change applies, the firewall stops answering at the old address. Your browser session is now stranded; that is expected, not a failure.
- Put your computer in the new subnet. The fastest reliable method is to set a temporary static address on your computer inside the new range (for example, if the firewall is now 192.168.20.1, give your computer 192.168.20.10 with a /24 mask and the firewall as gateway). Alternatively, if you already updated the DHCP range (next step) in a previous session, simply renewing your lease may work; the temporary static address always works, which is why it is the recommended route.
- Log in at the new address. Browse to https:// followed by the new LAN address, and log in as usual. You are back in control.
- Move the DHCP range. Open the DHCP service settings for the LAN and change the offered range to addresses inside the new subnet (for example 192.168.20.100 to 192.168.20.199), keeping it clear of the firewall's own address and of any static devices. In current OPNsense releases the default DHCP service is Dnsmasq, and its LAN range is the one to edit. Save and apply.
- Return your computer to DHCP and renew. Remove the temporary static address, then force a new lease: disconnect and reconnect the cable, toggle Wi-Fi, or use your operating system's renew or repair action. Your computer should receive an address from the new range.
- Restart or renew the other clients. Every device holding an old lease keeps it until the lease expires or the device reconnects. Rebooting stubborn devices is faster than waiting.
The single most common lockout is doing step 2 from a computer that can only reach the firewall through the address being changed, with no console access and no plan for step 3. If you manage this firewall remotely through a VPN that lands on the LAN, think twice: changing the LAN subnet can cut the very path you are managing through. Do address changes with local or console access whenever you can.
A worked example, end to end
Suppose your ISP router uses 192.168.1.0/24 and your OPNsense LAN defaults clash with it, so you decide to move the LAN to 192.168.20.0/24 with the firewall at 192.168.20.1. The sequence runs like this. You download a backup and connect a monitor to the firewall, just in case. In the LAN interface settings you replace 192.168.1.1 with 192.168.20.1, keeping the prefix at 24, and apply; your browser session dies, as expected. You give your laptop a temporary static address of 192.168.20.10/24 with gateway 192.168.20.1, browse to https://192.168.20.1, and log in. In the DHCP settings for LAN you change the range to 192.168.20.100 to 192.168.20.199 and apply. You set the laptop back to DHCP and renew: it receives 192.168.20.100 with gateway 192.168.20.1, and websites load. Your printer, which had the static address 192.168.1.50, is reconfigured to 192.168.20.50, and the port forward that pointed at it is updated to match. Finally you save a new backup and write "LAN 192.168.20.0/24" on the label under the firewall. Total downtime is a few minutes, most of it spent renewing leases.
A note on IPv6: if your LAN hands out IPv6 by tracking the WAN prefix, it follows the WAN automatically and needs no change here. If you configured a static IPv6 address or a manually defined prefix on the LAN, treat it as a second, separate address change with the same planning, and verify clients afterwards on both protocols.
If you do get locked out: the console escape route
Stay calm; an address change cannot damage the configuration, and there are two clean ways back. At the console, log in as root and choose option 2, Set interface(s) IP address, select the LAN interface, and enter the address you want, either the new one (to complete the move) or the old one (to retreat). The console banner will show the resulting LAN address, as described in our first boot and console menu guide. Alternatively, restore the backup you took before the change, which returns the LAN settings along with everything else. Once you are back in, work out which step was missed, usually the DHCP range or your own computer's lease, and repeat the sequence.
After the move: the follow-up sweep
With the new subnet live, work through the list you made during planning:
- Update devices with static addresses into the new range, one by one, and note their new addresses.
- Check port forwards and any firewall rules that mention specific old addresses, and update the ones whose devices moved.
- Update bookmarks, saved sessions, and monitoring that target the firewall's old address.
- If you use the firewall's name instead of its address, confirm the name resolves to the new address from a LAN client.
- Retire the old range in your documentation, and label the new range where the hardware lives.
Questions that come up every time
Do I need to change anything on my clients' DNS settings? Normally not. DHCP clients receive the firewall's LAN address as their DNS server, and that value updates automatically when they renew their leases after the move. Only devices with fully manual network settings need individual attention, and they are the same static devices already on your list.
Can I change just the last number and keep the same subnet? Yes. Moving from 192.168.1.1 to, say, 192.168.1.254 inside the same /24 is a much smaller job: the DHCP range usually stays valid, clients keep their addresses, and the only real risks are picking an address inside the DHCP range or one already used by a static device. The full sequence above still protects you, but you will find most steps take seconds.
Will the firewall rules break? Rules written against the LAN network or the LAN address follow the interface automatically. Rules and forwards that name a specific host address are the ones to audit, which is why the planning table lists them explicitly.
How long does the whole change take? The edit itself is a minute. Budget fifteen minutes for lease renewals, static devices, and verification, and do it when a short interruption is acceptable rather than in the middle of the household's evening streaming.
How to confirm the change worked
- The console banner shows the LAN line with the new address and prefix.
- You can log in to the web interface at the new address, and the old address no longer answers.
- A LAN client set to DHCP receives an address inside the new range, with the new firewall address as its gateway and DNS.
- That client can load websites by name, proving routing, NAT, and DNS on the new subnet.
- Devices with static addresses are reachable at their new addresses, and any port forwards to them still work from outside.
- A fresh configuration backup, saved after the change, is stored off the firewall so the new state is your recovery point.
If clients receive addresses from the old range after all this, something else on the network is serving DHCP, most often the ISP router you kept in front of the firewall with its DHCP still enabled, or the ports are not in the roles you think they are; our interface assignment guide helps you verify which socket holds the LAN role. And if the web interface itself will not load at either address, the layer-by-layer checks in the web interface troubleshooting guide will find the failing point.