OPNsense
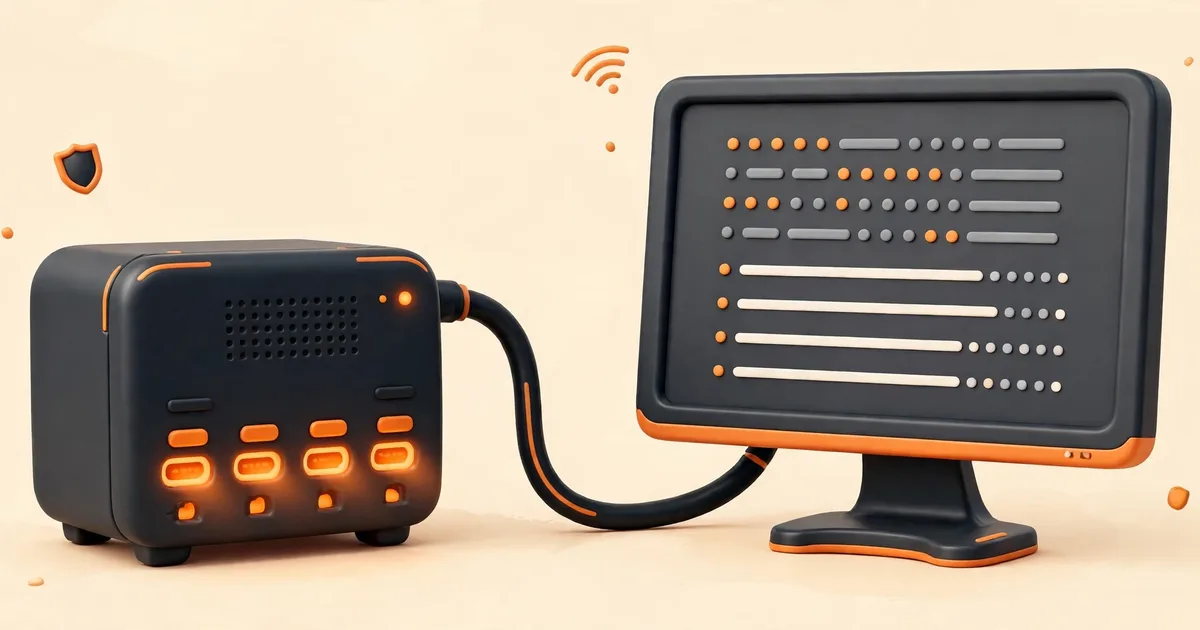
When an installed OPNsense system finishes booting, it presents a text console: first a short round of interface assignment prompts, then a login, and finally a numbered menu of 13 options with a banner that shows your LAN address. On a fresh install that address is 192.168.1.1/24, and it is the address you will type into a browser to reach the web interface. This guide walks through that first boot screen by screen, explains every console menu option, and ends with the checks that confirm your interfaces are assigned and the web interface is reachable.
What you see as the system boots
The boot sequence scrolls a list of kernel and service messages, then settles at the console. What you see depends on the console your hardware uses. Machines with a monitor and keyboard use the VGA console. Headless appliances use the serial console, which you view from another computer over a serial cable at 115200 baud. Both consoles show the same prompts and the same menu once you log in, so everything below applies to either one.
One distinction matters at this point. If you boot from the installation media again, you get the live environment, which runs from the USB stick or ISO and forgets its changes on reboot. An installed system boots from its own disk and keeps its configuration. First boot in this guide means the first boot of the installed system after the installer has finished and you have removed the installation media. If the installer starts again instead, your machine is still booting from the USB stick or ISO: shut down, remove the media or change the boot order, and start again.
The interface assignment prompts
Before the login prompt, a newly installed system asks you to assign interfaces. Assignment is the step that decides which physical network port becomes LAN, which becomes WAN, and which ports are left over as optional (OPT) interfaces. Nothing about routing or the internet works correctly until the right ports hold the right roles, so take a minute here rather than rushing past.
The prompts arrive in this order:
- VLANs first. The system asks whether you want to set up VLAN devices now. For almost every first installation the correct answer is no. VLANs are optional at this stage and can be configured later in the web interface, where they are much easier to review and change.
- The LAN interface. Type the name of the interface that will face your internal network. Interface names come from the FreeBSD drivers for your network cards, so they look like short codes followed by a number. The first interface you assign becomes LAN.
- The WAN interface. Type the name of the interface that will face your modem or your provider's network. The second interface you assign becomes WAN.
- Additional interfaces. Any further interfaces you name become OPT1, OPT2, and so on. You can leave these empty for now and assign them later.
- Confirmation. The system shows the assignment it is about to apply and asks you to proceed. Read it before confirming, because this summary is the easiest place to catch a swapped port.
Telling the ports apart
The awkward part of assignment is that the names on screen do not say which physical socket they belong to. The assignment screen lists each detected interface together with its MAC address, and that gives you two practical ways to identify ports. First, many appliances print the MAC address of each port on a label, so you can match the label to the list. Second, you can use link state: plug a live cable into one port at a time and note which interface in the list corresponds to the port you just connected, repeating until every port is identified. Either way, finish by labelling the cables or the ports themselves (a strip of tape and a marker are enough). Future you, lying under a desk at a bad moment, will be grateful.
If you ignore the prompts or let them time out, defaults are applied instead: the system picks interfaces in order, with the first becoming LAN and the second WAN. That guess is right often enough on simple two-port hardware, but on a machine with several ports it can easily pick the wrong pair. If the default guess turns out wrong, nothing is broken permanently. You can redo the assignment at any time from the console menu or from the web interface, as explained in our guide to assigning WAN and LAN interfaces.
Special cases: nano images and imported configurations
Two installation paths change what first boot looks like. If you installed from the nano image, there was no installer run at all: nano is a preinstalled image, so the machine boots straight into the same assignment prompts and console menu described here. On its first boot the image also expands itself to fill the installation media, which is automatic and needs no action from you.
If you used the configuration importer during installation (the full images offer it before boot), the installed system starts with your imported settings instead of factory defaults. Interface roles, addresses, and the root password then come from the imported configuration, so the defaults in this guide, including root / opnsense, will not apply. That is expected behaviour, not a fault.
By default, WAN is configured to ask for its address by DHCP, which matches most home and small office connections. LAN receives the fixed address described in the next sections.
Logging in to the console
After assignment, the console shows a login prompt. On a fresh install the credentials are the defaults: username root and password opnsense. If you set a new root password during installation, use that password instead, because the installer applies it to the installed system. The same root account and password are used for the web interface, so the password you type here is also your first web login.
Successful login displays two things. At the top is a banner that lists the interfaces and their addresses, including a line in the form LAN -> v4: 192.168.1.1/24. Below it is the console menu itself. That banner line is the single most useful piece of information on the screen: it tells you exactly where the web interface lives on your network.
Change the default password as soon as you can. Anyone who knows the widely published defaults can log in to a firewall that still uses them, on both the console and the web interface. The setup wizard prompts you for a new administrator password, and console menu option 3 resets the root password at any time.
The console menu, option by option
The menu is operated by typing a number and pressing Enter. Some options ask follow-up questions; others simply run. You do not need most of them day to day, because the web interface covers the same ground, but the console menu is your lifeline when the network or the web interface is unavailable. Here is what each option does:
| Option | Name | What it does and when you would use it |
|---|---|---|
| 0 | Logout | Ends the console session and returns to the login prompt. Use it whenever you walk away from a console that others can reach. |
| 1 | Assign interfaces | Reruns the assignment prompts described above. The fix for swapped LAN and WAN ports when the web interface is unreachable. |
| 2 | Set interface(s) IP address | Changes the IP address of an interface from the console, most often the LAN address. This is the recovery path when a LAN address change has locked you out of the web interface. |
| 3 | Reset the root password | Sets a new root password without needing the old one. Requires physical or console access, which is why console access must be protected. |
| 4 | Reset to factory defaults | Wipes the configuration and returns the system to its just-installed state. Destructive: use it only when you intend to start over. |
| 5 | Reboot system | Restarts the firewall in an orderly way. The clean way to reboot when you have no web access. |
| 6 | Halt system | Shuts the system down cleanly so it can be powered off safely, for example before moving hardware. |
| 7 | Ping host | Sends ping requests to an address you specify. A quick test of whether the firewall itself can reach the internet or a LAN device. |
| 8 | Shell | Opens a full command line shell for advanced work. Powerful and unforgiving; most administrators rarely need it. |
| 9 | pfTop | Shows live traffic and state information, useful when you want to see what the firewall is passing right now. |
| 10 | Filter logs | Displays recent firewall log entries at the console, handy when the web interface is down and you need to see blocked traffic. |
| 11 | Restart web interface | Restarts the web interface service (with its PHP backend) without rebooting the firewall. The first thing to try when the GUI stops responding but the console works. |
| 12 | Upgrade from console | Runs a firmware update from the console. Recommended for major releases, which are installed offline. |
| 13 | Restore a configuration | Restores one of the previous configuration versions the system keeps locally. The quick undo for a recent bad change. |
Finding and opening the web interface
With the banner showing the LAN address, connect a computer to the LAN port (directly or through a switch), and open https://192.168.1.1/ in a browser. Your computer should receive an address in the same range automatically, because the LAN side runs a DHCP server by default. Log in with root and the password you used at the console.
Two things commonly cause a moment of confusion here. First, the browser will warn that the connection is not private or that the certificate is invalid. On a fresh install the web interface uses a self-signed certificate, so this warning is expected on your own LAN; proceed to the site. Second, if the page does not load at all, check the basics before changing anything: is your computer plugged into the port you assigned as LAN, and did it receive an address starting with 192.168.1? If it received an address in a different range, it is probably connected to the wrong port or to another router. Our troubleshooting guide for a web interface you cannot reach works through the layers in order.
If the first boot does not go as expected
A few symptoms show up regularly, and each has a simple first check:
- The installer starts again. The machine is still booting from the installation media. Remove the USB stick or ISO and check the boot order.
- The serial console shows nothing, or garbage characters. Your terminal is almost certainly set to the wrong speed. The serial console runs at 115200 baud; set your terminal program to match and reconnect.
- No assignment prompts appear. The system may already hold a configuration (for example after an import or a previous setup). Log in and use menu option 1 to review the assignment.
- The web interface loads but the login fails. Confirm you are using root, not admin, and the password set during installation if you changed it there. If the password is simply lost, console option 3 resets it.
- The console works but the web interface does not respond. Try menu option 11 to restart the web interface before rebooting anything.
How to confirm the first boot worked
Run through this checklist before you move on to configuration. Each item proves one part of the first boot:
- The console banner shows a LAN line with an IPv4 address (192.168.1.1/24 on an unchanged install).
- You can log in at the console with root and your password, and the 13-option menu appears.
- A computer connected to the LAN port receives an address in the LAN range by DHCP.
- The web interface login page loads at the LAN address over HTTPS.
- You can log in to the web interface with the same root credentials.
- From the console, option 7 (Ping host) reaches your modem or an internet address once the WAN cable is connected.
If every item checks out, the installation phase is complete. The full walkthrough that got you here is covered in our OPNsense installation guide, and the natural next step is the setup wizard, which takes you through hostname, WAN type, LAN settings, and a new administrator password in one guided pass. Once the wizard is done, take a configuration backup so this working state is saved before you start experimenting.