OPNsense
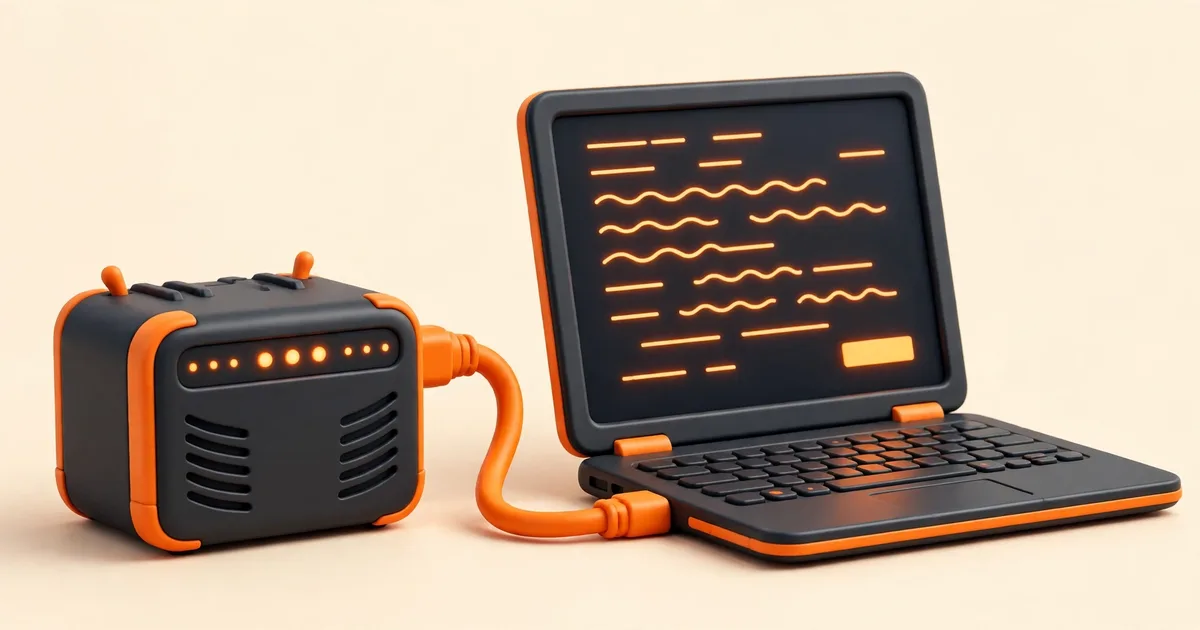
On headless OPNsense hardware, hardware with no display output at all, the serial console is the screen and keyboard: the serial and nano images send their console to a serial port at 115200 baud, and with the right cable, the right image and a terminal program set to that speed, you can watch the boot, run the installer and use the console menu exactly as if a monitor were attached. This guide covers what you need, how to connect, what you should see at each stage, and how to tell a working setup from the three classic failures: a blank screen, garbled text and a console that stops halfway.
When you need serial at all
Not every install does. If your hardware has a display output and you are using the VGA or DVD image, the console is on the monitor and this guide is background reading. Serial becomes essential in three situations:
- Headless appliances. Many fanless firewall boxes and embedded boards have no display output; their console port is serial by design.
- The serial or nano image. These images talk to the serial port. The serial image is serial only, and nano uses serial as its primary console with secondary VGA support that shows no kernel messages. Connect a monitor to either and you will see little or nothing of the boot.
- Recovery and major upgrades. The official update guidance recommends performing major upgrades with a VGA display or a serial console attached, because major upgrades are installed offline, with no web interface or SSH available during the process. A working serial setup is your window into the machine on exactly the days the network path is closed.
The mirror image mistake is just as common: booting the VGA image on a headless box and watching a serial terminal that stays silent. The image decides where the console lives, and no terminal setting on your computer can move it afterwards. If you have not settled yours yet, our comparison of VGA vs DVD vs Serial vs Nano explains the console side of each image, including which ones leave a monitor dark and which ones leave a serial port silent.
What you need
- The serial image (for an install) or the nano image (preinstalled), already written to your USB stick or card. Serial console support is a property of the image, not a setting you add later.
- A computer to act as the terminal: any laptop or desktop with a terminal program that can open a serial port.
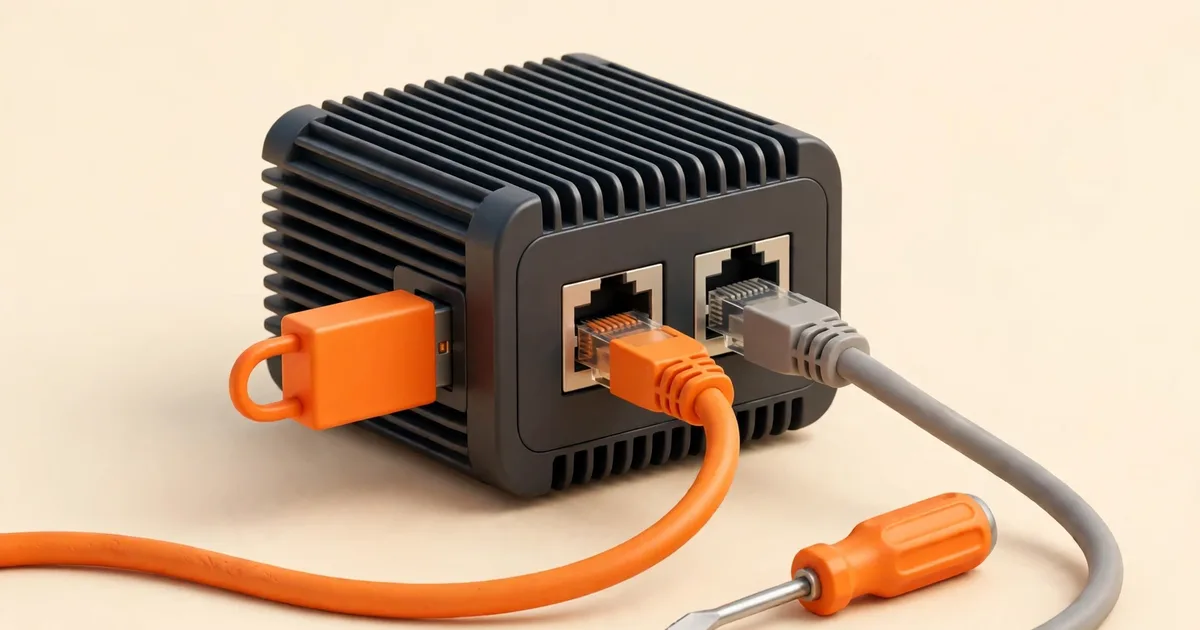
- The right cable for your hardware's console port. Appliances present serial in different physical forms (a classic DE-9 connector, an RJ45 console port, or a USB console port), and the correct cable or adapter is the one that matches your device's port and documentation. If the device offers a USB console port, a plain USB cable to your computer is usually the whole story; for a true serial port you will need a USB to serial adapter on a modern laptop, and the correct cable type for the device.
- A second cable path for patience: serial work involves reboots, and you will reconnect more than once.
Check the cable against your hardware's documentation before you conclude anything is broken. A wrong cable type can produce a perfectly silent console on healthy hardware, and it is the single most common cause of "serial does not work" reports.
Connect and configure the terminal
- Connect before power. Attach the serial cable between the firewall and your computer while the firewall is off, so you catch the boot from the first line. Serial consoles reward those who are already watching.
- Find the port. Open your terminal program and identify the serial device your cable or adapter created (on a laptop with a USB adapter, it appears when the adapter is plugged in; note which entry it is).
- Set the speed to 115200 baud. This is the documented console speed for the serial and nano images, and it is the setting that matters. Leave the remaining parameters at the defaults your terminal program offers; if the program exposes a flow control option and you see missing or frozen output later, turning flow control off is a standard step worth trying.
- Open the connection, then power on the firewall. Boot messages should begin to scroll almost immediately.
How you know it worked: readable text streams in from the moment of power on, not a blank window and not a spray of nonsense characters. Readable boot text at 115200 is the signature of a correct cable, a correct image and a correct speed, all three at once.
What you should see, stage by stage
Boot
The firmware hands over to the OPNsense image and the console fills with kernel and startup messages. On the serial image this is the main display. Let it run; a first boot from fresh media takes longer than a routine one.
The live environment and installer
The serial image boots a live environment like the other full images. At the login prompt, logging in as installer with the password opnsense starts the installer, and the full walkthrough in our installation guide applies unchanged: the menus and prompts are the same, only the glass in front of them differs. Logging in as root with the password opnsense instead gives you the live system and its console menu. Remember the live environment is read only: nothing you change there survives a reboot, so use it to install or to inspect, not to configure.
After installation
Once installed, the system reboots from its disk and the serial console shows the same console menu you would see on a monitor: the numbered list that includes assigning interfaces, setting IP addresses, rebooting, opening a shell and upgrading from the console (option 12). The welcome banner above the menu shows your interface assignments and the LAN address, 192.168.1.1/24 by default. Interface assignment on a headless box deserves care: the first interface you assign becomes LAN and the second WAN, and the prompt's plug in a cable detection works over serial exactly as it does on a screen, so have both cables in reach. Our mini PC installation guide walks through that assignment with the port identification checks.
On nano systems
A nano system has no installer stage. It boots from its card into the running system, prompts for interface assignment on first boot, and presents the console menu on the serial port. If you are bringing up a nano appliance, the serial console is also where you confirm the RAM disk behaviour described in our nano image guide: after a reboot the menu and your configuration are present, and the logs begin empty.
What the serial console is for, once you are in
The console menu you reach over serial is the full local menu, the same 13 options a monitor would show. The ones that matter most on a headless box are the recovery and identification tools:
- 1) Assign interfaces and 2) Set interface IP addresses: the fixes for the two mistakes that lock people out of the web interface, swapped ports and a LAN address on the wrong subnet.
- 3) Reset the root password: the way back in when the administrator password is lost, available only to someone with physical (or serial) access, which is precisely why serial access must be treated as privileged.
- 7) Ping host and 10) Filter logs: quick proof of life and a first look at what the firewall is doing, without the web interface.
- 12) Upgrade from console: the console path for firmware work, and the companion to the offline major upgrade process the official guidance describes.
- 13) Restore a configuration: roll back to a previous configuration kept on the system itself.
That list is the real argument for setting serial up before you need it. Every one of those tasks is something you do when the normal path (the web interface, over the network) is unavailable, broken or untrusted. The serial cable is the side door, and side doors are fitted before the fire, not during it.
Working comfortably in a serial terminal
A few habits make serial sessions far less frustrating. Give the terminal window a generous scrollback buffer, because boot messages you missed cannot be scrolled back to if the buffer is tiny, and the interesting line is always the one that just left the screen. If your terminal program can log the session to a file, turn that on during installations and upgrades: a saved transcript turns a failed boot from a memory test into a document you can search and share. Paste text into a serial terminal cautiously and in small pieces; a long paste can overrun a slow console, and a configuration command mangled in the middle is worse than a slow one typed by hand. Finally, remember that closing the terminal window does not log you out of the console in every setup, so log out (menu option 0) when you finish, especially on a machine others can reach.
Confirming the setup end to end
- Boot text was readable from the first seconds after power on, with no garbled characters.
- You reached a login prompt and logged in (installer to install, or root for the menu).
- The console menu responds to your keystrokes, and choosing a harmless option (such as pinging a host, option 7) works.
- After a reboot, the console comes back on its own and shows the banner with your LAN address.
- You know which physical cable and which terminal settings produced this, and you have noted them down for the next time.
When it does not work: symptoms and causes
Completely blank terminal
Work the chain in order. Is the terminal connected to the port the cable actually created? Is the firewall powered and booting (link lights, fan or case warmth, a beep)? Is the image a serial one? A VGA image on a headless box is silent on serial by design. Then suspect the cable type, and check it against the hardware documentation. Blank screens are almost always one of these four, in roughly that order.
Garbled, random looking text
This is the signature of a speed mismatch: the data is arriving, but your terminal is reading it at the wrong baud rate. Set 115200 and reconnect. Garbled text is good news in disguise; it proves the cable, the port and the console are all alive.
Readable text that stops partway
Text that starts cleanly and freezes can mean the boot itself stopped (watch for an error in the last lines), or that the console has handed over to a different output. On nano, remember the primary console is serial, so a freeze on a monitor is expected, not a symptom. If the serial output itself stops at the same point on every boot, read the final messages carefully; they usually name the problem, and our troubleshooting category takes it from there.
You can see output but typing does nothing
The transmit path is the problem: a cable that only carries one direction, a terminal with flow control holding the line, or the wrong port selected for sending. Disable flow control in the terminal, reseat the cable, and confirm you are connected to the console port rather than a lookalike network port.
It worked yesterday and not today
USB serial adapters are notorious for reappearing as a different device after being unplugged or after the terminal computer sleeps. Reopen the terminal, reselect the port entry that exists now, and reconnect at 115200 before suspecting the firewall.
Write down your working combination (cable, adapter, port name, 115200 baud, image used) and keep it with the firewall. Serial access is a tool you reach for under pressure, usually with the network down; the time to discover your settings is a calm afternoon, not that evening. If you are still deciding whether your hardware even needs this, the buying side of the question (which console a mini PC offers, and why it should influence the purchase) is covered in our guide to choosing a mini PC for OPNsense.